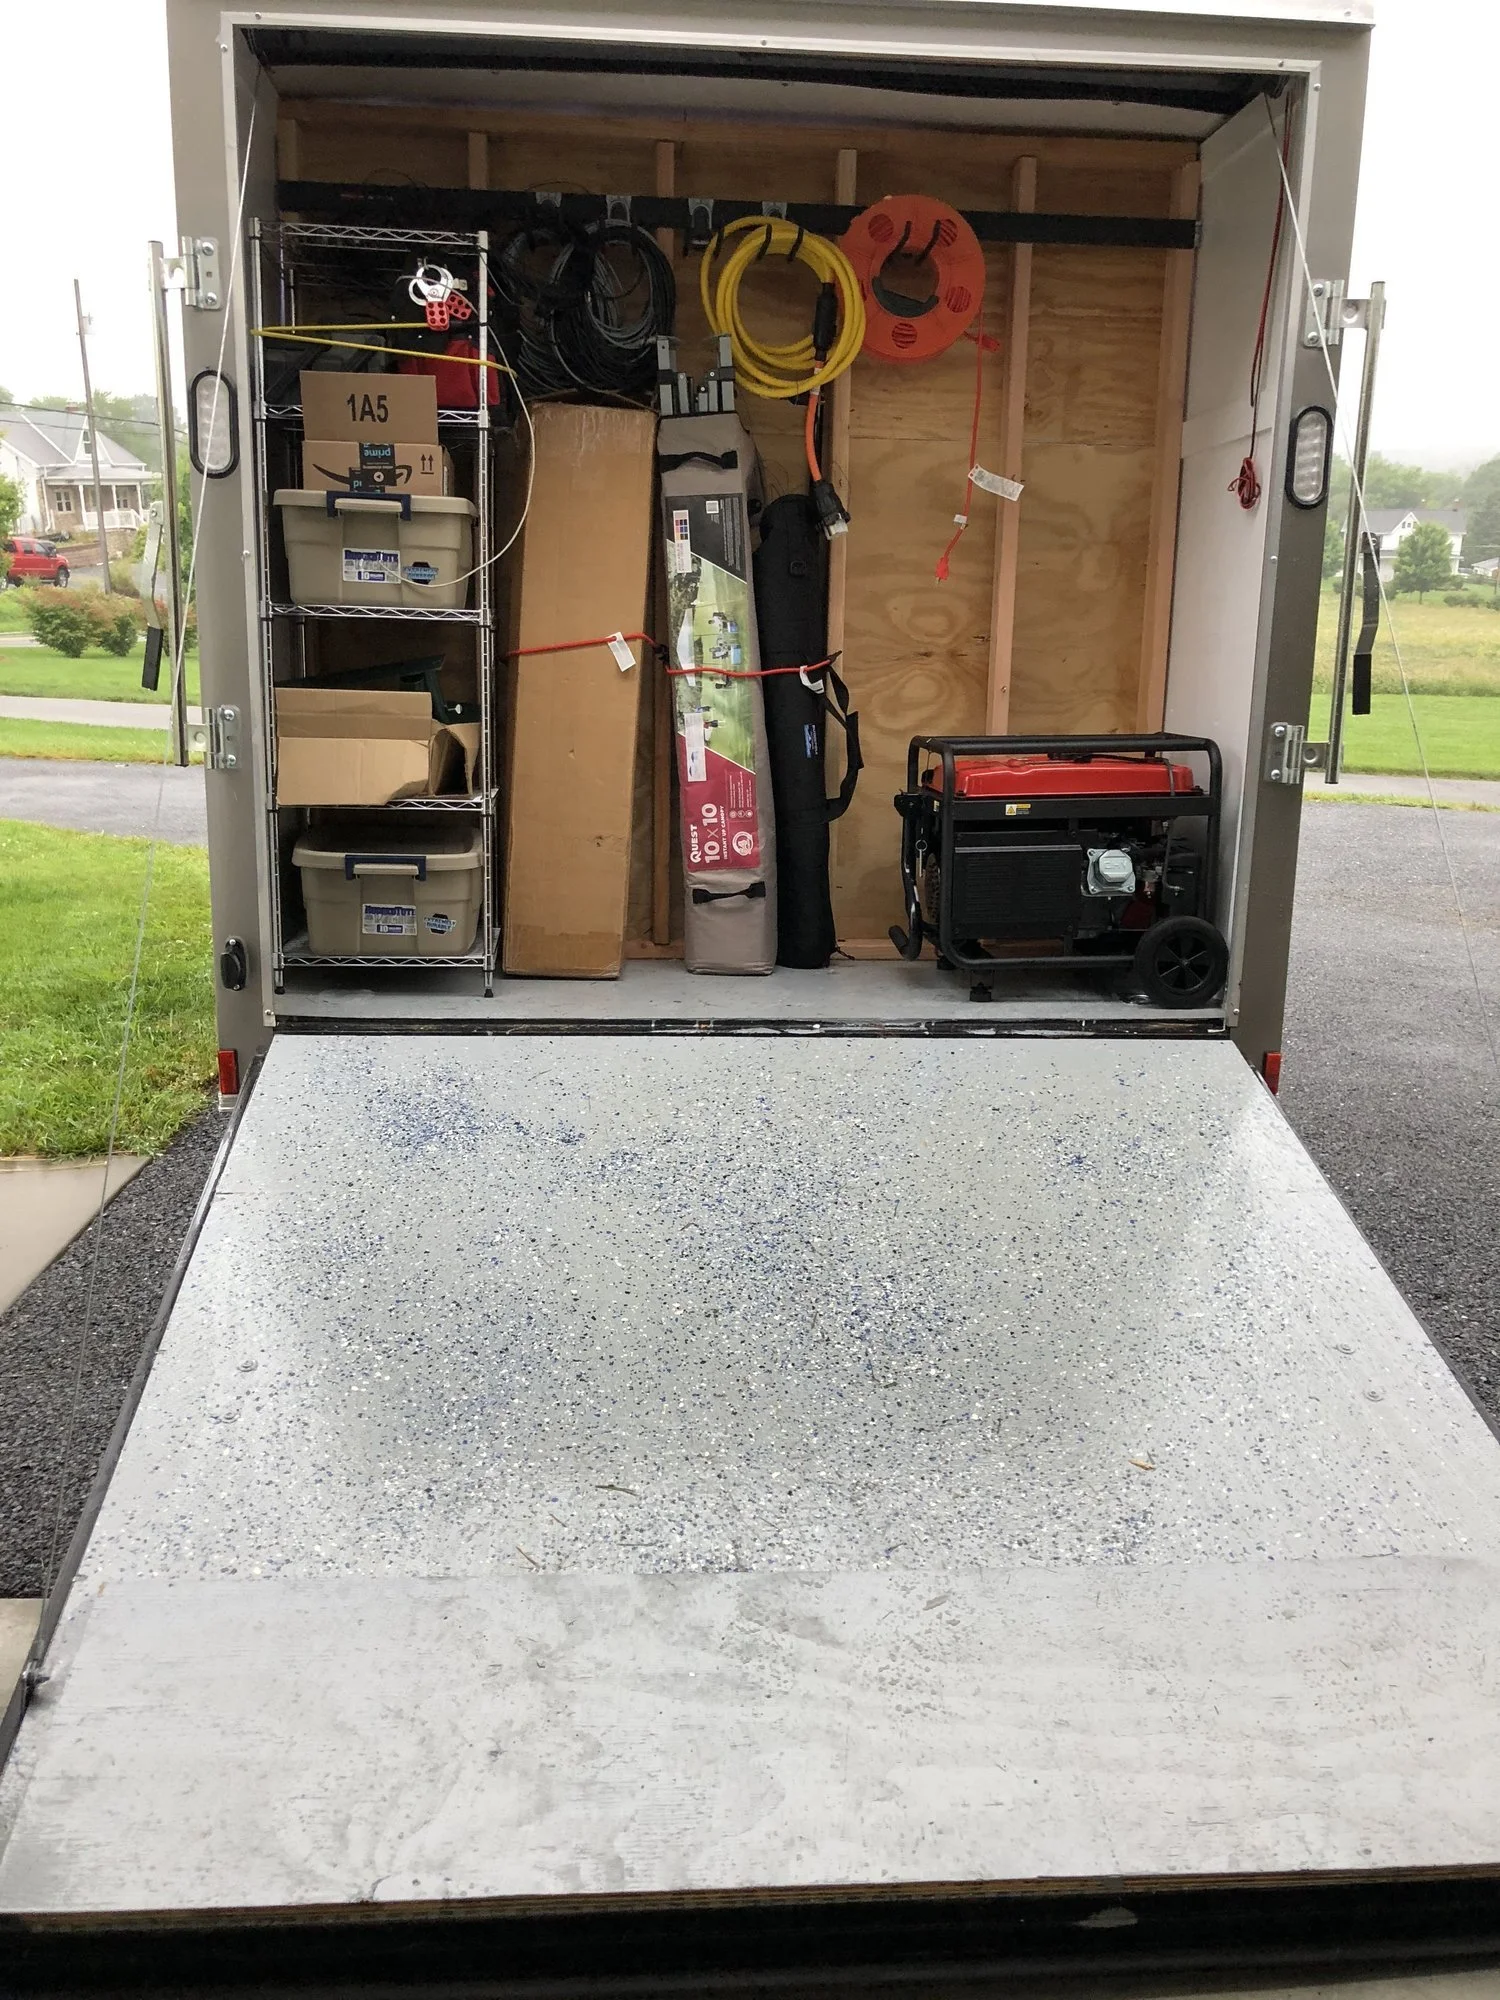
Building a Communications Trailer from an Enclosed Cargo Trailer #2
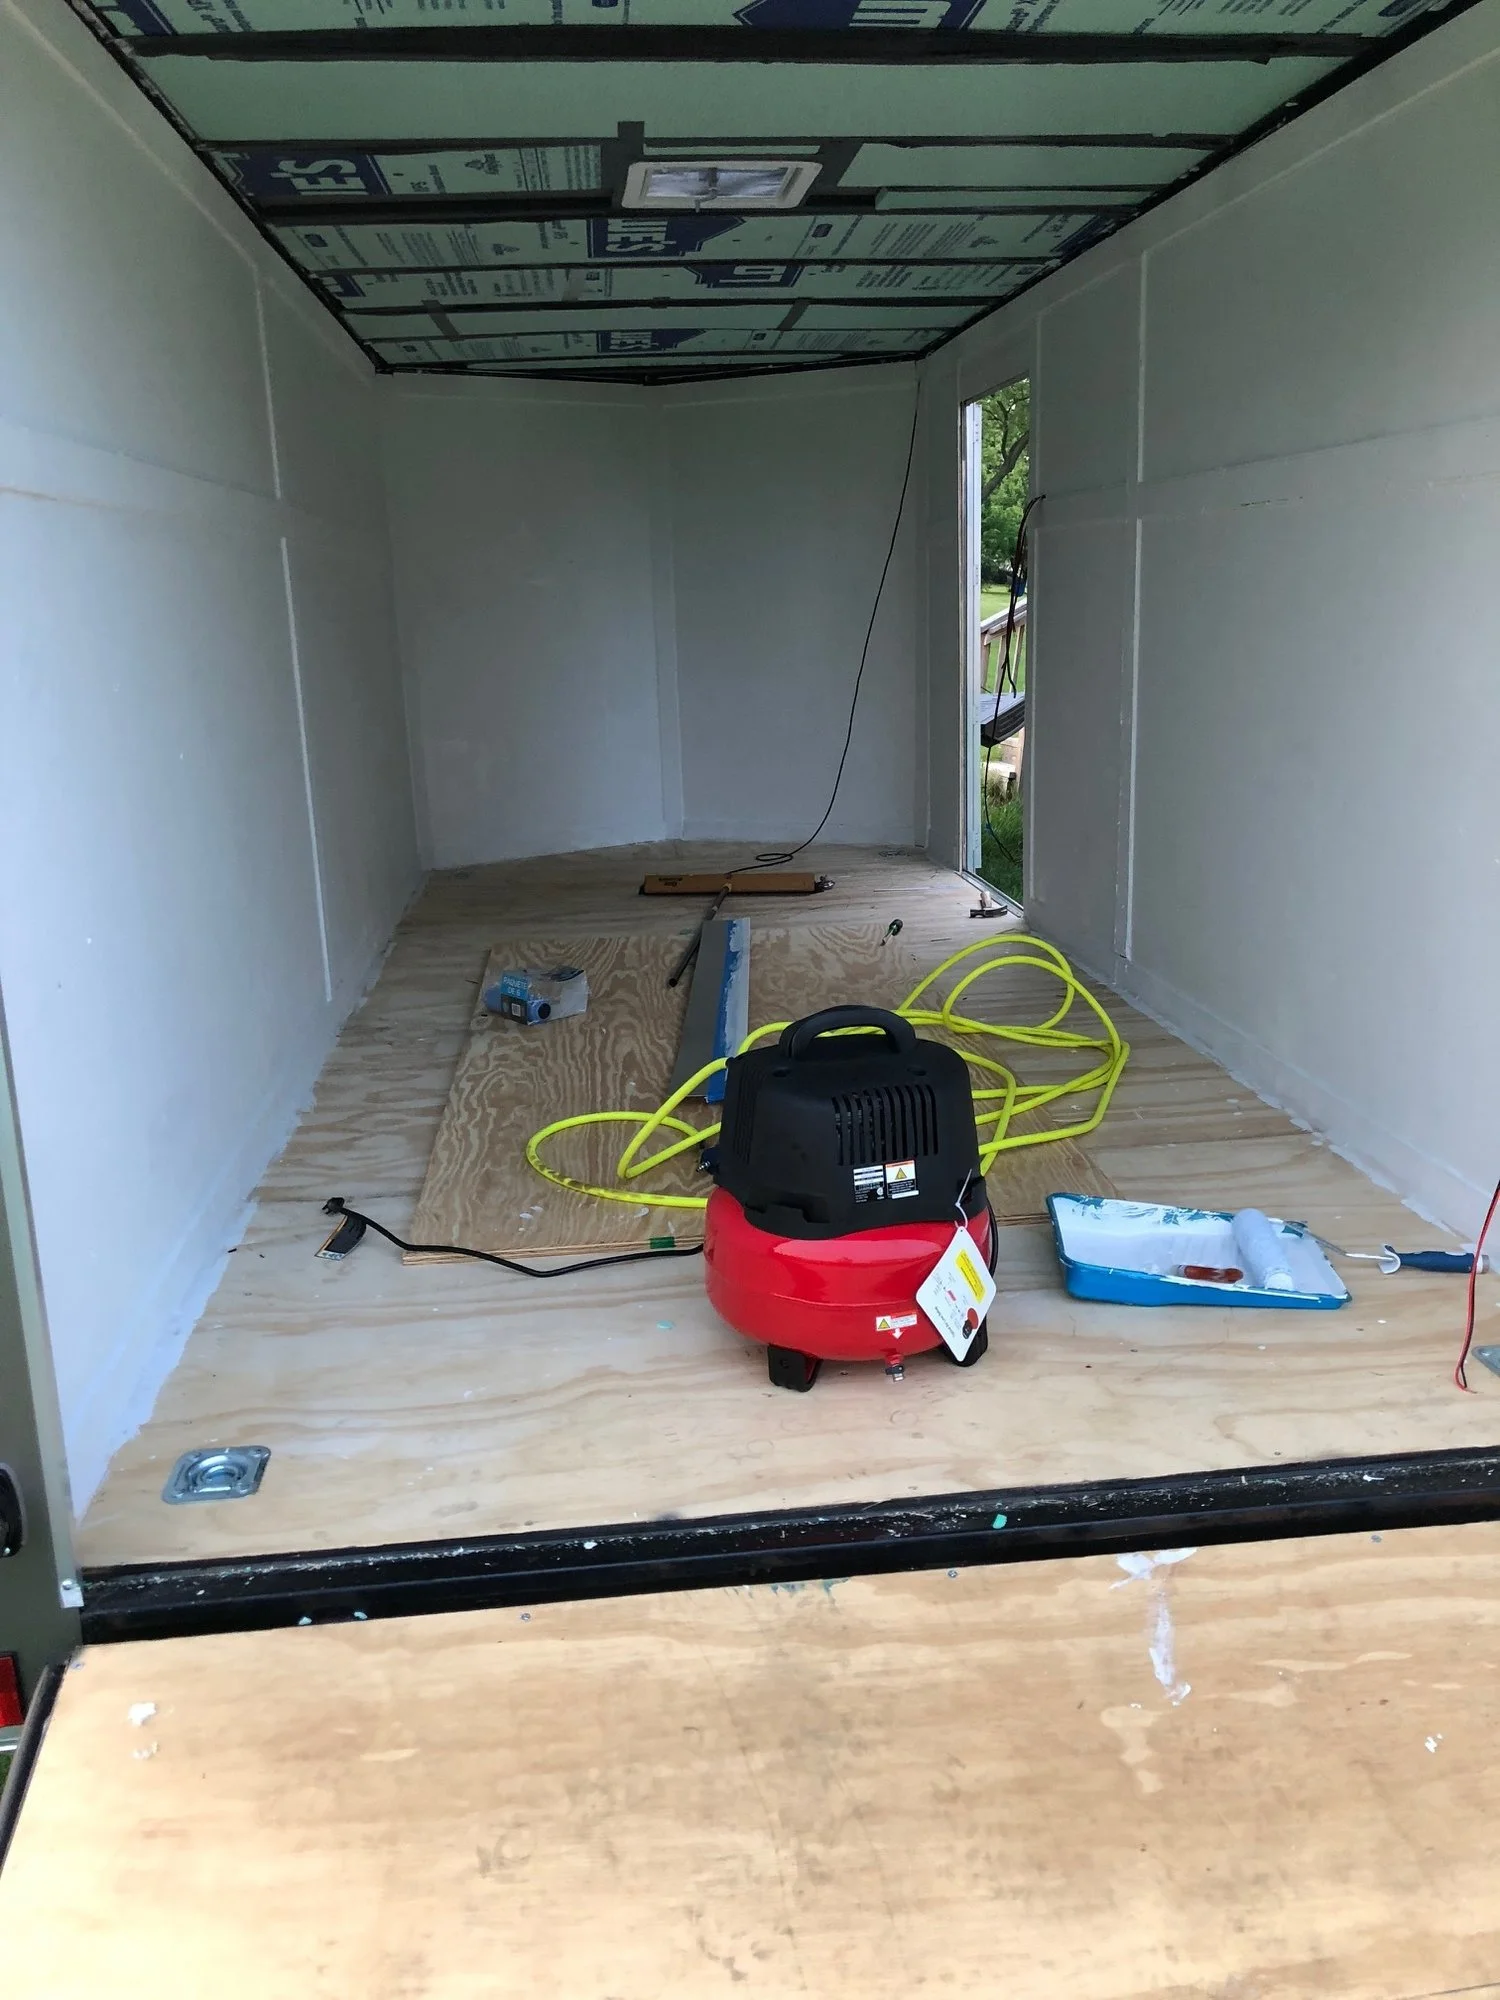
It has been a couple of weeks since my last update so I figured I would give another update. When we left off in the previous post I had just finished putting the first coat of Kilz on the walls. The 2nd coat made things look so much better and then the gloss white coat topped it off.
One thing I forgot to mention in the previous post is I mounted an LED light that is pretty heavy above the side door. I had to do that before I could close up the walls. I had to add some additional support above the door because the aluminum shell could not handle the weight, at least not for very long. Below is a picture of the light mounted above the door.

Here is a picture that I took I think after all of the painting, you can see it turned out pretty good.

It took a couple of days longer because I had to paint between the rain drops. After I got the walls completed I put on the first layer of epoxy on the floor. Sorry for the color but it was pretty dark out when I got the first coat on.

The first coat went on a little thin and you could see the wood at some places. The second coat covered those spots up nicely. It took 3 days for the first coat to cure enough that you could walk on it without sticking. On day 2 I went out to put on the 2nd coat and sat in the door on the side and stuck to the floor and could barely get up so I waited another day.
After the second coat of epoxy was on, I spread around some of the decorative metallic flakes on the ramp. I had read that the epoxy can get slippery so I hoped that adding some texture would help with some traction. I did not put any metallic flakes on the inside because I wanted to keep it smooth in case we use chairs that have wheels.
After 3 more days of the 2nd coat drying I added the clear protective coat. This coat felt dry the next day. However because of weather it actually had 3 days to cure before it got used. Here are some pictures of the final paint and epoxy.


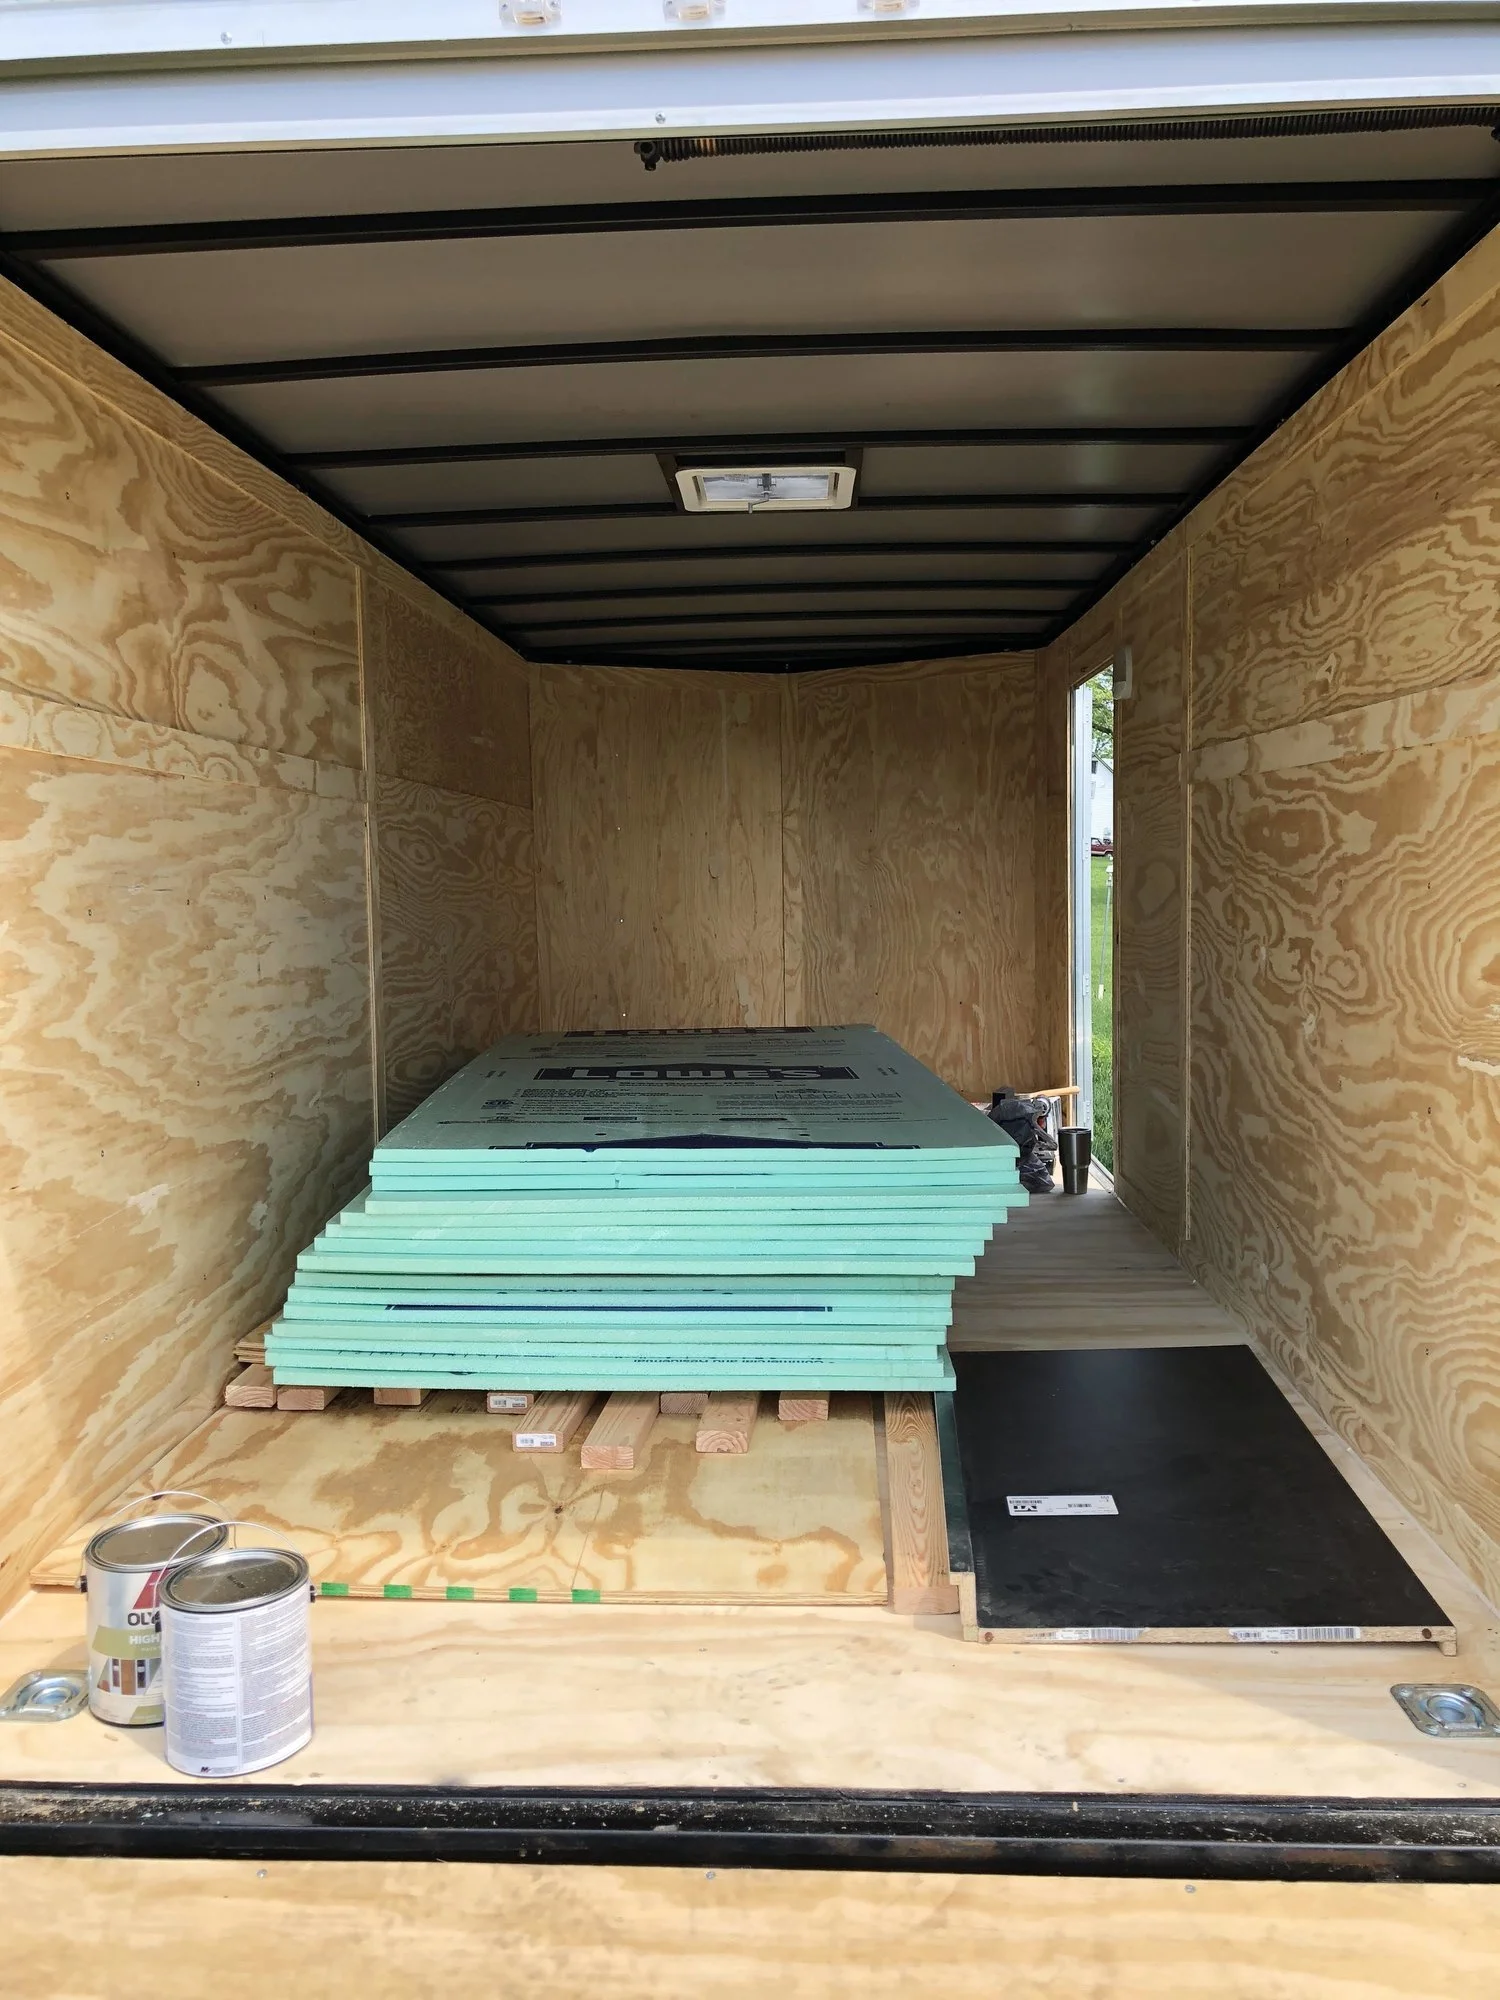
Next step was to get the ceiling and countertop materials so we took the trailer for a trip to lowes where we got the ceiling panels, the remaining countertops and some electrical components to start wiring up.
Most things in the trailer will work on 12 volts. The plan is to have 6 12V AGM batteries that are charged either by solar or shore power. Because I want to make sure that everything is safe and as highly compatible as possible with other power systems. I decided to use a 50 amp 120/240 volt marine plug for shore power. These are designed to be around water and you can find adapters to go to just about every other plug like generators, 30 amp twist locks, plugs used in RV parks and even down to the 110 volt 15 amp plug we are all used to seeing in our homes.
The plug I got is huge! See the photo below.

I installed the power plug on the left side of the trailer opposite of the door. I was thinking that would be better than installing it on the door side because of foot traffic. Also, since most of the electrical components are going to be installed in the nose of the trailer it would have to be behind the door which would interfere with the door holding latch.
Below are pictures of it installed on the side of the trailer.


I have also been mounting equipment in the nose of the trailer and running electrical conduit. I am trying to do everything up to building code even though it is not required in the trailer. Everything is going to be grounded and safe. Below is a picture of where things are with the mounting of components and running of conduit.

As you can see by the photo there is still a long way to go but they are moving much faster than before. Because just about everything uses 12 volts I decided to use 12 volt switch panels. Below is the the big panel that will be by the door and control the lighting in the trailer.

As you can see this switch panel also has a USB and 12V plug in addition to the battery charge status. There are also 3 other switch panels at the different workstations. They are to provide 12V and USB power in addition to control overhead work lights for that workstation. Below is an image of the smaller panel.

When I ordered these they called them 2 gang, 5 gang so I assumed they would fit into a 2 gang us electrical box. Well that is not the case so I am going to have to make my own mounting solution for these panels. These panels require a lot of room behind them for the wiring and the plugs are pretty deep as well. I have not even attempted to figure out a solution for this yet, which is why you still see the 12 volt wires hanging out of the wall.
Things are starting to move much quicker than before but I only have the ability to work on things on evenings when there is nice weather and only up until dark. My goal is to get it operational by Field Day which is only 11 days away. In that time I have to complete the build and start installing and testing the radio gear and antennas.
I think I am going to start working on the ceiling because I am having to walk around it sitting on the floor and I also need to put it up before I can put up lights. If I had lights, I could work longer at night.
I will post another update when I get some time, probably after field day.