Building a Communications Trailer from an Enclosed Cargo Trailer #1
I am going to create a few blog posts about my adventures in turning a cargo trailer into a communications trailer.
Why build a communication trailer? Well there are a number of reasons. The first one is to make transporting and setup easy for Ham Radio events like field day or when we do public service events like bike races, hikes, runs, etc.
I am also interested in emergency communications. In building the communications trailer I am going to have it setup so it could be used in emergency situations quickly. With the bad hurricanes last year and Hurricane Sandy in 2012 I want to be ready to help with emergency communications if needed.
So, I am going to document the process of building out the trailer in a few blog posts. I purchased at 7'x16' from shore2shore trailers in Douglas GA. We spent a few days in Hilton Head and went to Douglas GA on the way home to pick up the trailer to save the shipping costs.
Before doing anything I wanted to insulate the trailer. I also want to paint the inside and do something to protect the floor. I watched a ton of youtube videos about people taking these enclosed trailers and making them into campers. I have found a few things on the internet where people have done something similar to what I am trying to do.
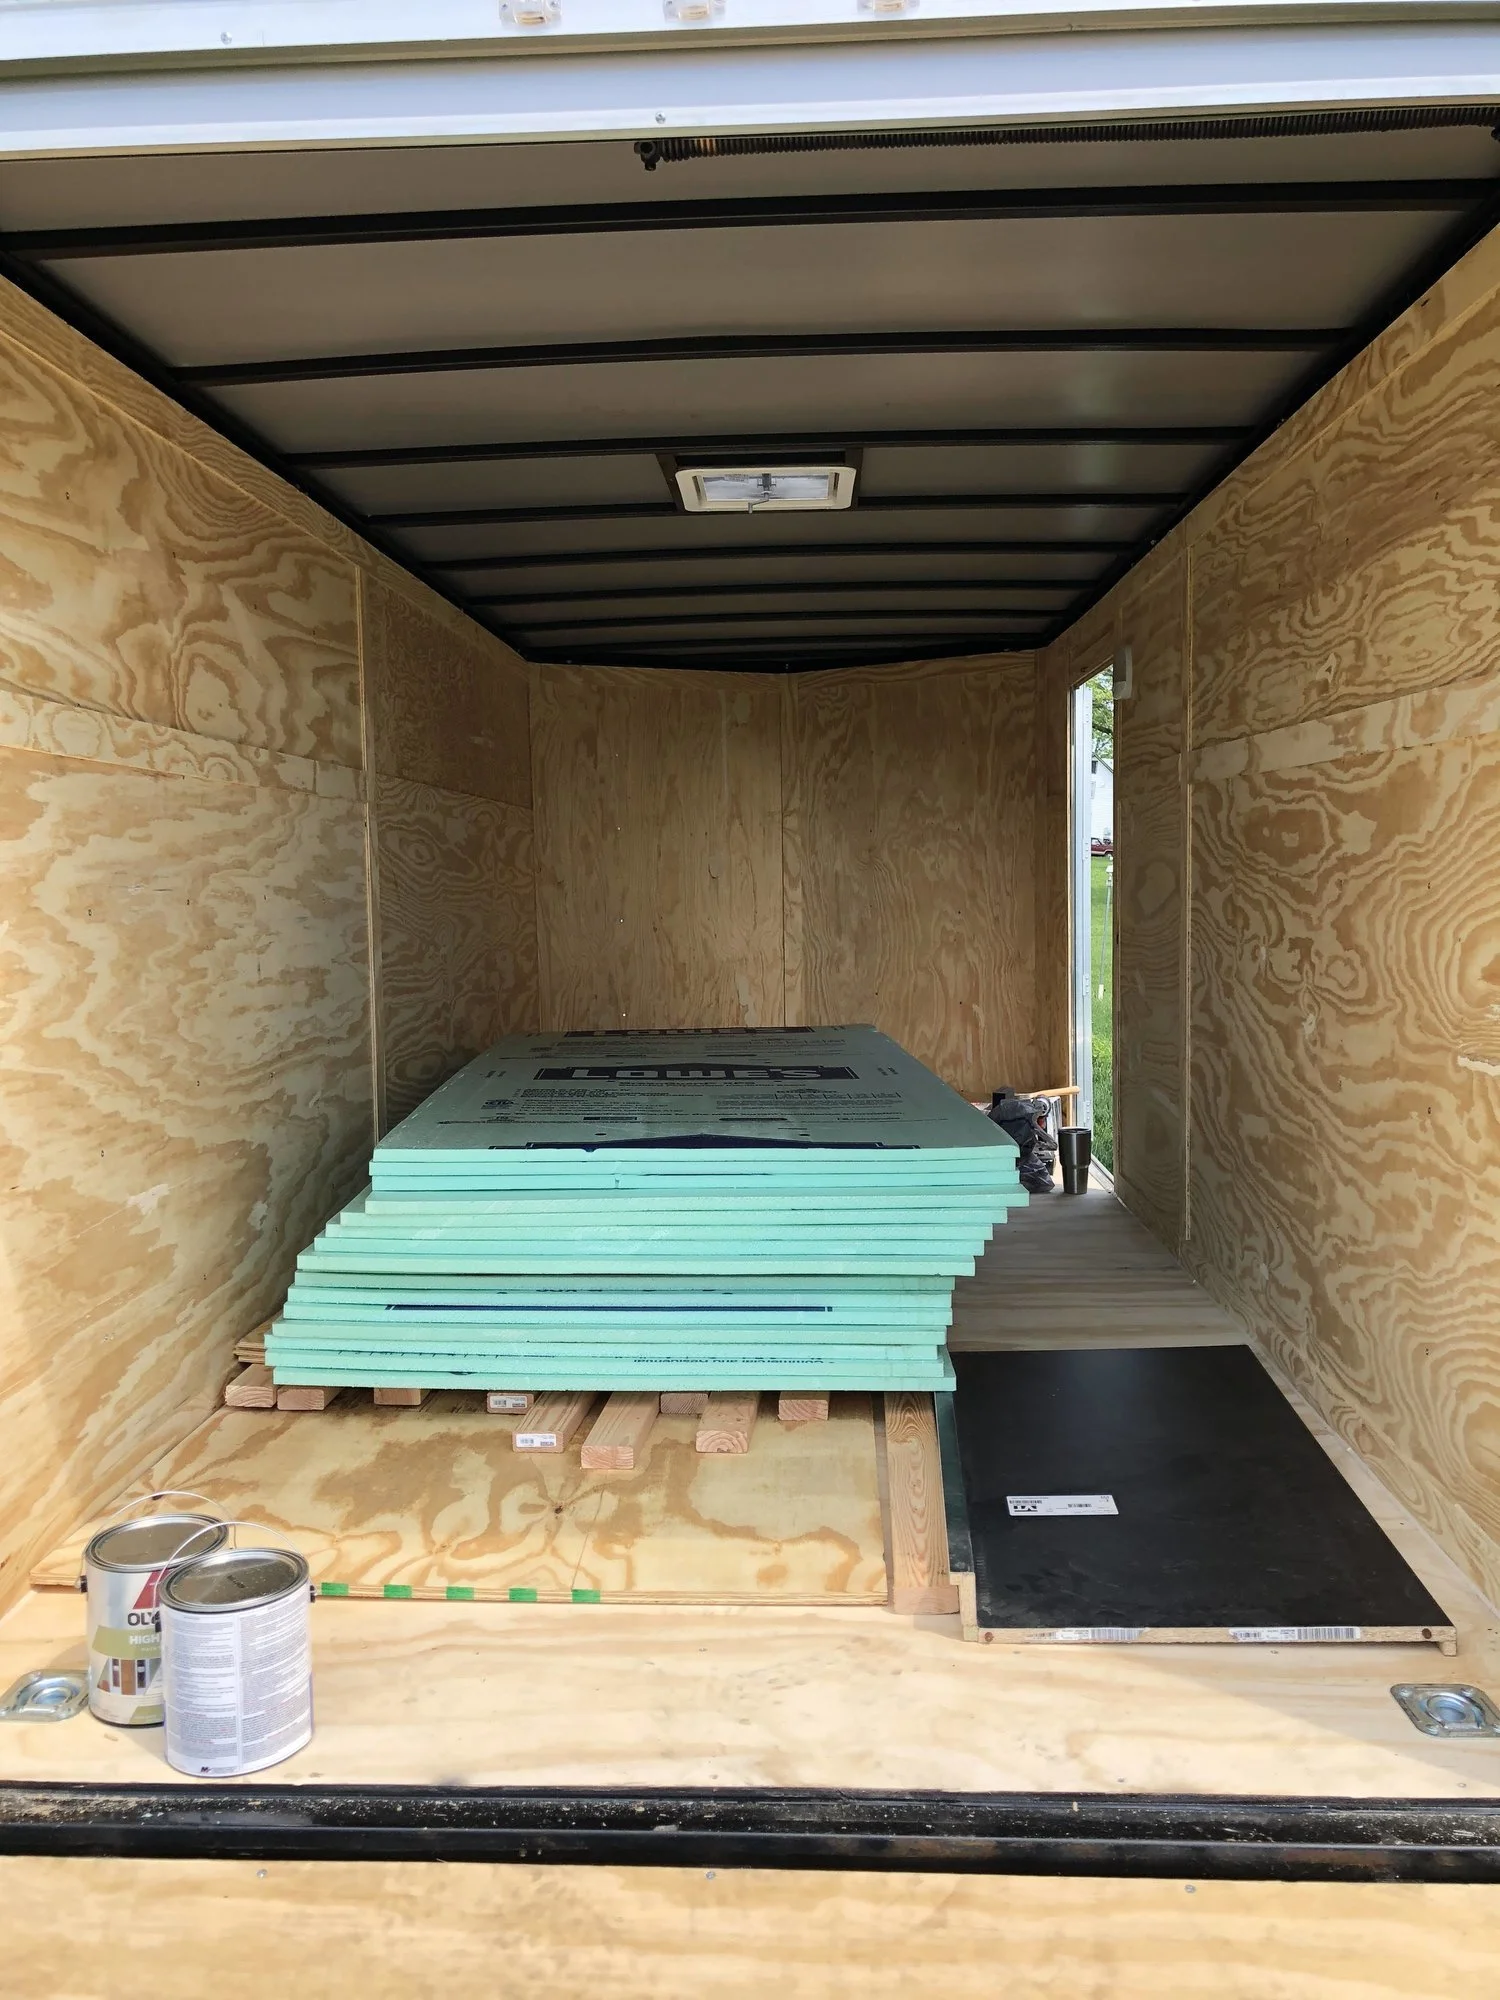
The first step was to go get supplies to insulate the trailer, paint it and then epoxy the floors. Here is a picture of the supplies all loaded in the trailer:

I still need 2 more counter tops. I got the materials from Lowes and they were out of stock on the 2 6 ft countertops. One thing I need to mention is about the lumber, I am going to build a wall in the back to create a storage area in the back of the trailer. Also, the 3/4 in plywood I am going to place in the nose of the trailer to mount the battery charger, the solar charge controller, electrical boxes, etc. The plywood that is on the walls in the trailer is pretty thin and I was concerned with the weight of the chargers it pull off the board.
So on to the first step, insulating the trailer. I looked at different options. Some suggested a spray on insulation and others just use the 4x8 pieces of foam. After reading about the spray on insulation and the mess it creates as well as the fact that it is more than 3 times the cost of the foam panels.
Below are some pictures of the trailer with the walls mostly insulated.


You can see I ran some wires for the back. One for power for the overhead light in the storage area and also the light on the back of the trailer (I will talk about the light in a little bit)
The walls were more difficult that I expected. It was not the wood that was hard but cutting the styrofoam that was difficult. Using a knife did more ripping of the styrofoam than cutting. I ended up buying a hot knife. That made it easier but a hot knife is very slow.
One thing to notice is the gap between the plywood. That may be normal for trailers but to me that seems odd. Not sure if you notice but the gaps are not even so the wood was not hung strait. The trim covers all of that up.
Next I insulated the ceiling, you will notice around the vent there are some small areas not insulated. Those are where I am going to run the wires to power an Air Conditioner that will be mounted on the roof. It became obvious throughout this process that AC might be a requirement.
I was doing this during some very hot and humid days. The insulation helps to keep the trailer much cooler than it was originally. When I was installing the insulation I could feel the heat from the walls, after the insulation that heat is gone.
Below are some pictures with the ceiling insulated:


You will notice that above the door there is still a panel missing. I am going to mount an LED flood light above the door but the light is pretty heavy so I need to properly mount it. Here is the light I am going to mount above both the side and back doors:

As of the writing of this blog post I still have not mounted the light. You will see that later in the following pictures.
I used some spray foam to fill in some gaps, that is what the white stuff you see in different places.
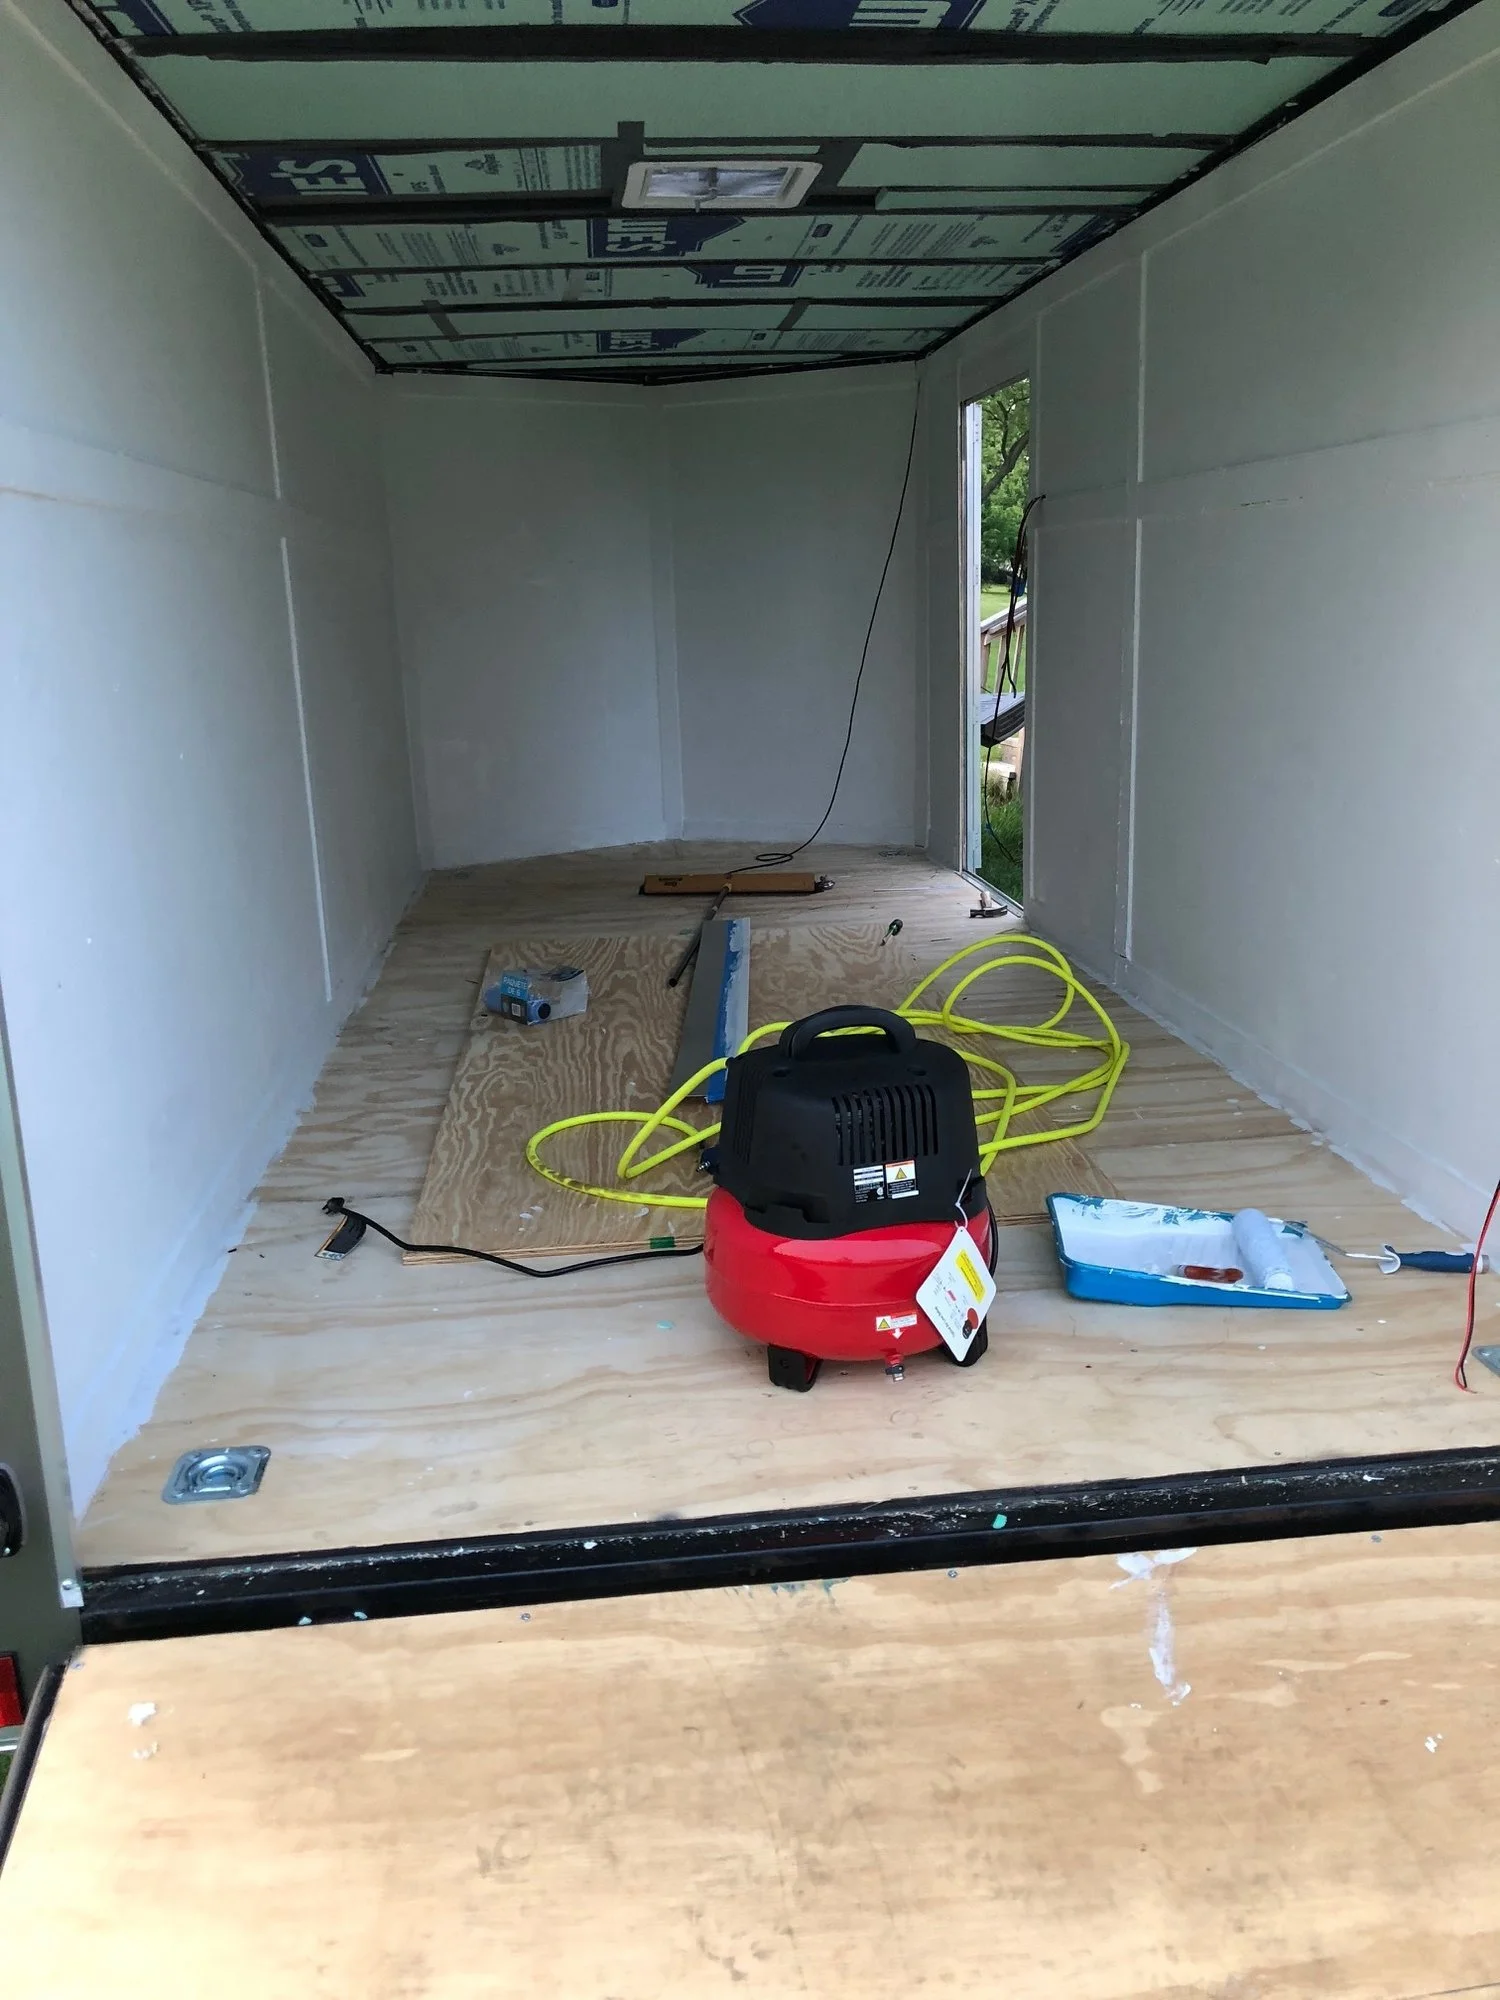
Once all of the insulation is complete, I put the trim back up. Because I saw how big the gaps were between the wood pieces, I decided to seal up the trim with caulk before painting. Here is a picture with the trim up and caulked ready for painting.

i have been working on this during days of mixed weather. In between storms and rain, I got this far and tonight. I went out between storms and put the first coat of Kilz2 on the walls. It is going to take 2 coats. From watching videos I learned that before you paint the walls you should use kilz as a primer and I see why now. The wood soaks up the paint. You can see in the picture of the first coat below that the wood just soaks up the kilz. I did manage to get part of a 2nd coat of kilz on the walls before I ran out. Below is the latest picture before I wrote this post.

Keep an eye out for the next post with the next steps in the process.